Custom Iron Railings are made in seven stages: consultation, site measurement, design and shop drawings, and material selection. These steps include fabrication, finishing, and installation.
For most Toronto and GTA homes, the process takes about 3 to 6 weeks from approval to installation. Additionally, on-site installation is usually finished in one to two days.
If you are planning Custom Iron Railings in Toronto, knowing how they are built helps you compare quotes.
Additionally, this knowledge helps you ask better questions and avoid surprises.

Why the Process Matters When Choosing Iron Railings in Toronto
Two railings can look identical in a photo and perform very differently ten winters later. The difference is almost always in the process: how accurately the site was measured, how the metal was prepared, how the joints were welded and how the finish was applied.
Toronto’s freeze-thaw cycles, road salt, and older housing stock make this especially important.
Moreover, a railing that is poorly measured will not fit uneven steps.
One with a thin coating will start rusting at the welds within a few seasons.
Understanding each stage helps you judge the quality of Custom Iron Railings Toronto contractors you speak with.
Additionally, discuss this with any Toronto contractor you speak with.
Stage 1: Initial Consultation and Project Goals
Every project begins with a conversation. We ask what the railing needs to do (safety, security, curb appeal or all three), where it will be installed, and what style suits the home.
What we discuss:
- Interior or exterior location, and the surface it will mount to
- Style preferences: traditional scrollwork, simple square pickets or modern lines
- Budget range and timeline
- Existing railings to be removed or matched
- Safety and Ontario Building Code requirements
Tip: Bring photos of railings you like, plus a few pictures of the space. It speeds up design and helps us give a more accurate early estimate.
Stage 2: Site Visit and Precise Measurement
Accurate measurement is the foundation of a good custom railing. Because the work is fabricated to order, errors at this stage are expensive to fix later.
During the site visit we:
- Measure the full length, rise, run and angles of stairs, porches or balconies
- Check surface condition (crumbling concrete, loose brick, rotted wood)
- Note corners, landings, gates and transitions
- Mark post locations and confirm what each post will anchor into
- Photograph everything for the shop
For complex stairs, we may make a physical template so the railing matches the actual angles rather than the theoretical ones. This matters especially in older Toronto homes, where steps are rarely perfectly level.
Stage 3: Design and Shop Drawings
Next, we turn your goals and the measurements into a design. You will see a drawing showing the layout, post positions, picket spacing, height and decorative details.
Key design decisions
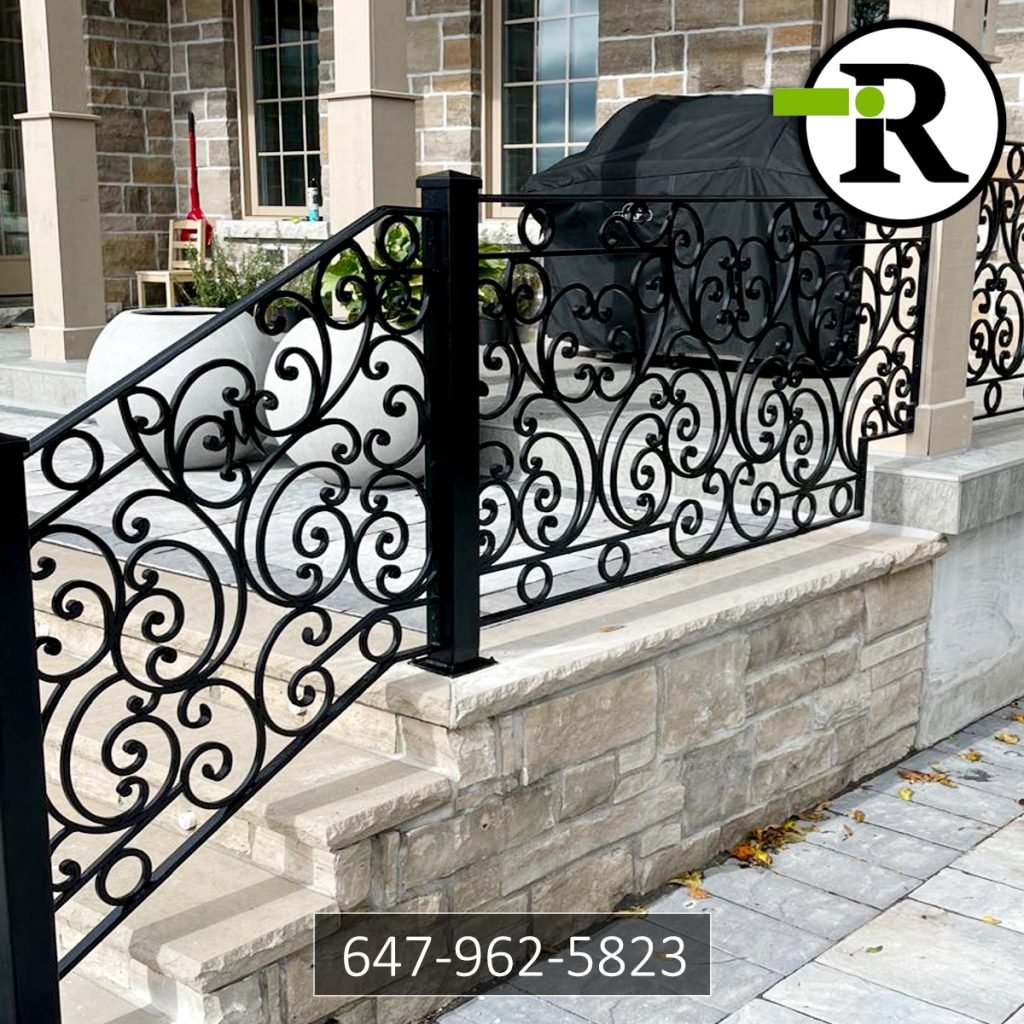
- Style: From clean modern vertical bars to detailed scrolls, baskets and twisted pickets.
- Spacing: Gaps between pickets are set to meet code. In most residential settings, openings must not allow a 100 mm (about 4 inch) sphere to pass through. Always confirm current requirements with the City of Toronto.
- Height: Guard and handrail heights depend on the location and drop.
- Mounting method: Surface mount, core-drilled, fascia mount or side mount.
- Finish and colour: Black is the classic choice, but bronze, charcoal and custom colours are available. [Confirm your options.]
We encourage you to approve the drawings in writing before fabrication starts. This is the stage to change your mind, since changes become costly once metal is cut.
Stage 4: Material Selection
The type of iron and steel used affects strength, weight, cost and lifespan.
| Material | Typical Use | Notes |
|---|---|---|
| Solid iron bar | Pickets, ornamental elements | Strong and traditional, heavier and costlier |
| Steel tube | Posts, rails, framing | Lighter and economical, common for modern designs |
| Forged ornaments | Scrolls, baskets, collars | Adds detail and character |
| Galvanized steel | Exposed exterior railings | Extra corrosion protection |
For exterior Toronto projects, we recommend corrosion-resistant preparation, because road salt and moisture are the main causes of premature failure.
Stage 5: Fabrication in the Workshop
This is where the design becomes a physical railing. Fabrication happens in our shop, in a controlled environment, and usually takes the longest.
Cutting and shaping
Posts, rails and pickets are cut to exact lengths. Bars are bent, twisted or forged into the shapes the design calls for. Curved railings require precise bending so the curve follows the stairs smoothly.
Welding and assembly
Components are welded into sections. Weld quality is critical because it determines long-term strength. Skilled fabricators check joints for full penetration and consistent fit.
Grinding and smoothing
Welds are ground smooth and sharp edges are removed. This step is easy to rush and is often what separates a premium railing from a basic one.
Dry fit
Where possible, sections are test-assembled before finishing to confirm everything lines up with the measurements.
Stage 6: Surface Preparation and Finishing
A railing is only as durable as its finish. In Toronto’s climate, this stage matters as much as the metalwork.
Surface preparation
The metal is cleaned to remove oil, scale and rust. Proper preparation allows the coating to bond. Skipping it is a leading cause of peeling and early rust.
Coating options
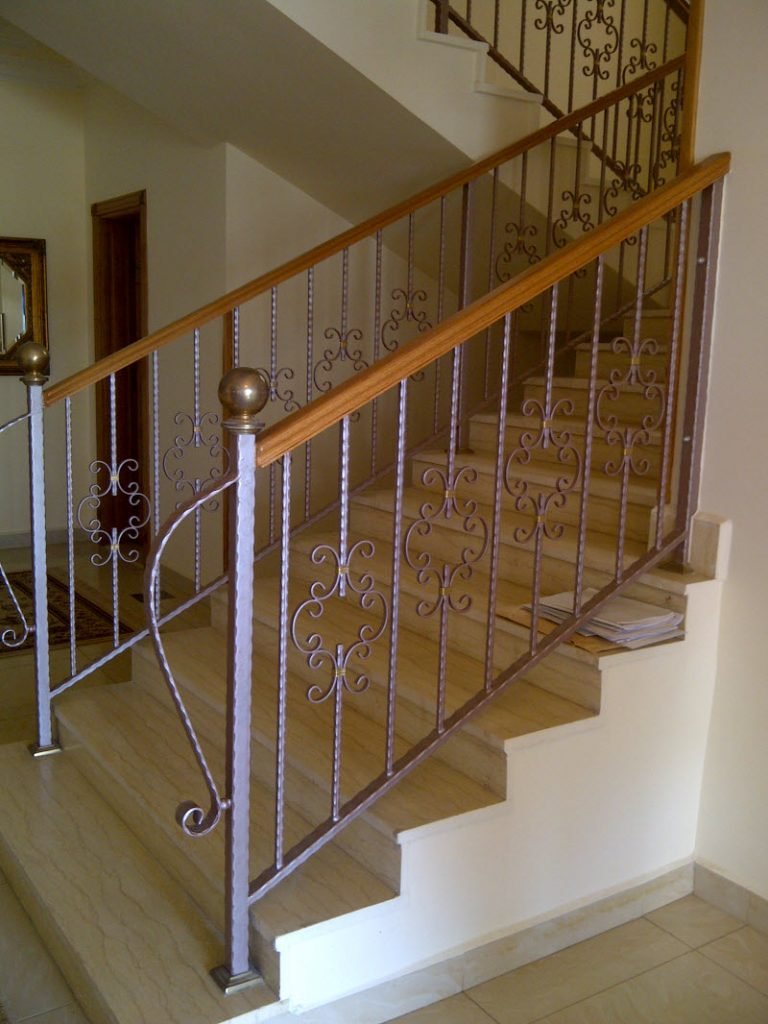
- Powder coating: Applied as dry powder and baked on, it creates a hard, even finish that resists chipping and fading.
- Galvanizing: A zinc layer that protects steel from corrosion, often used for exposed exteriors.
- Industrial paint systems: Primer plus topcoat, suitable for some interior and sheltered exterior uses.
[State which finishes you offer and any warranty on coatings.]
Even with a quality finish, small chips should be touched up promptly to prevent rust from spreading.

Stage 7: Delivery and Installation
Once finished, the railing is delivered to your property and installed by our crew.
Typical installation steps
- Protect the area and remove any old railing.
- Mark and drill post locations, and core-drill concrete or stone where required.
- Set the posts with anchors, base plates or epoxy, depending on the surface.
- Attach rail sections, checking level and plumb as we go.
- Test for rigidity and adjust until the railing is solid.
- Touch up finish where needed and clean the work area.
The right anchoring method depends on the surface. Concrete, brick, stone and wood each need different fasteners, and older Toronto steps often need minor repair first so posts have something solid to grip.
Explore Our Related Services
Frequently Asked Questions About Custom Iron Railings
How long does it take to make custom iron railings?
Most projects take about 3 to 6 weeks from approved drawings to installation, depending on complexity and shop schedule. Installation itself is typically one to two days. [Confirm with your actual timelines.]
Can you match my existing iron railing?
Yes. We can reproduce existing patterns and finishes, which is common with heritage homes in Toronto and the GTA.
What finish lasts longest outdoors?
A quality powder coat over well-prepared metal, or galvanizing for heavily exposed areas, performs best in Toronto’s climate. Regular touch-ups extend the life of any finish.
Do I need to be home during installation?
Usually someone should be present at the start and end to confirm placement and sign off, but you do not need to supervise the work.
Can iron railings be installed in winter?
Often yes, though frozen ground and heavy snow can delay exterior anchoring. Fabrication can happen in winter for a spring install.
Do custom iron railings need a permit?
Replacing a railing on existing stairs often doesn’t, but new porches, decks and structural changes may. Check with the City of Toronto and make sure the design meets Ontario Building Code requirements.
Can you install railings on old or damaged steps?
In many cases yes, after minor repairs. We assess the surface during the site visit and tell you what’s needed before anything is built.
What’s included in your quote?
[Adapt: measurement, design drawings, fabrication, finishing, delivery, installation, old railing removal, cleanup, warranty.]
Start Your Custom Iron Railing Project in Toronto
Ready to see what your project could look like? Iron and Railings International Inc. offers free on-site measurements and no-obligation quotes across Toronto, Mississauga, Vaughan, Markham, Brampton and the wider GTA.
Request Your Free Quote Today →
📞 647-962-5823
Send photos and rough measurements through our quote form and we’ll respond within [business hours].
Final Thoughts
Custom iron railings are built through a careful sequence: a thorough consultation, precise measurement, a clear design, quality materials, skilled fabrication, a durable finish and professional installation. Each stage affects how well the railing fits, looks and lasts. When you compare custom iron railings in Toronto, ask how each stage is handled, because the answers show the difference between a railing that lasts and one that doesn’t.